Today we'll be speaking with Robert Komatsu, ACE about his most recent film - Freaky…

How to Sound Design a Video | Step-By-Step Tutorial
We all know sound is important, right? Footage often arrives from production MOS, or without sound – you could also say without personality. It’s up to the editor to give the footage character, often through the use of sound design.
In this example, we’re going to sound design a sequence from a dark comedy. To make things interesting, we’ll create two versions: First, a quick initial pass, then we’ll critique it and take our time making a second version, where the sound works much better.
This tutorial benefits best from watching the video below, but we’ve also broken it down if you’d like to read on…
There are three steps to making your edit sound awesome:
- Score. Even if a composer will be scoring music later, it’s important to add temp music. This is going to help you design your sound effects in context, and it will also help others to understand your vision.
- Ambience and foley. We should be able to hear everything we see. Remember, nothing is silent, so even an empty room is going to make noise.
- Creative sound design. Not everything needs to sound the way it looks. We can even add sounds for things that we can’t see like thoughts, feelings, and camera moves.
The Initial Pass
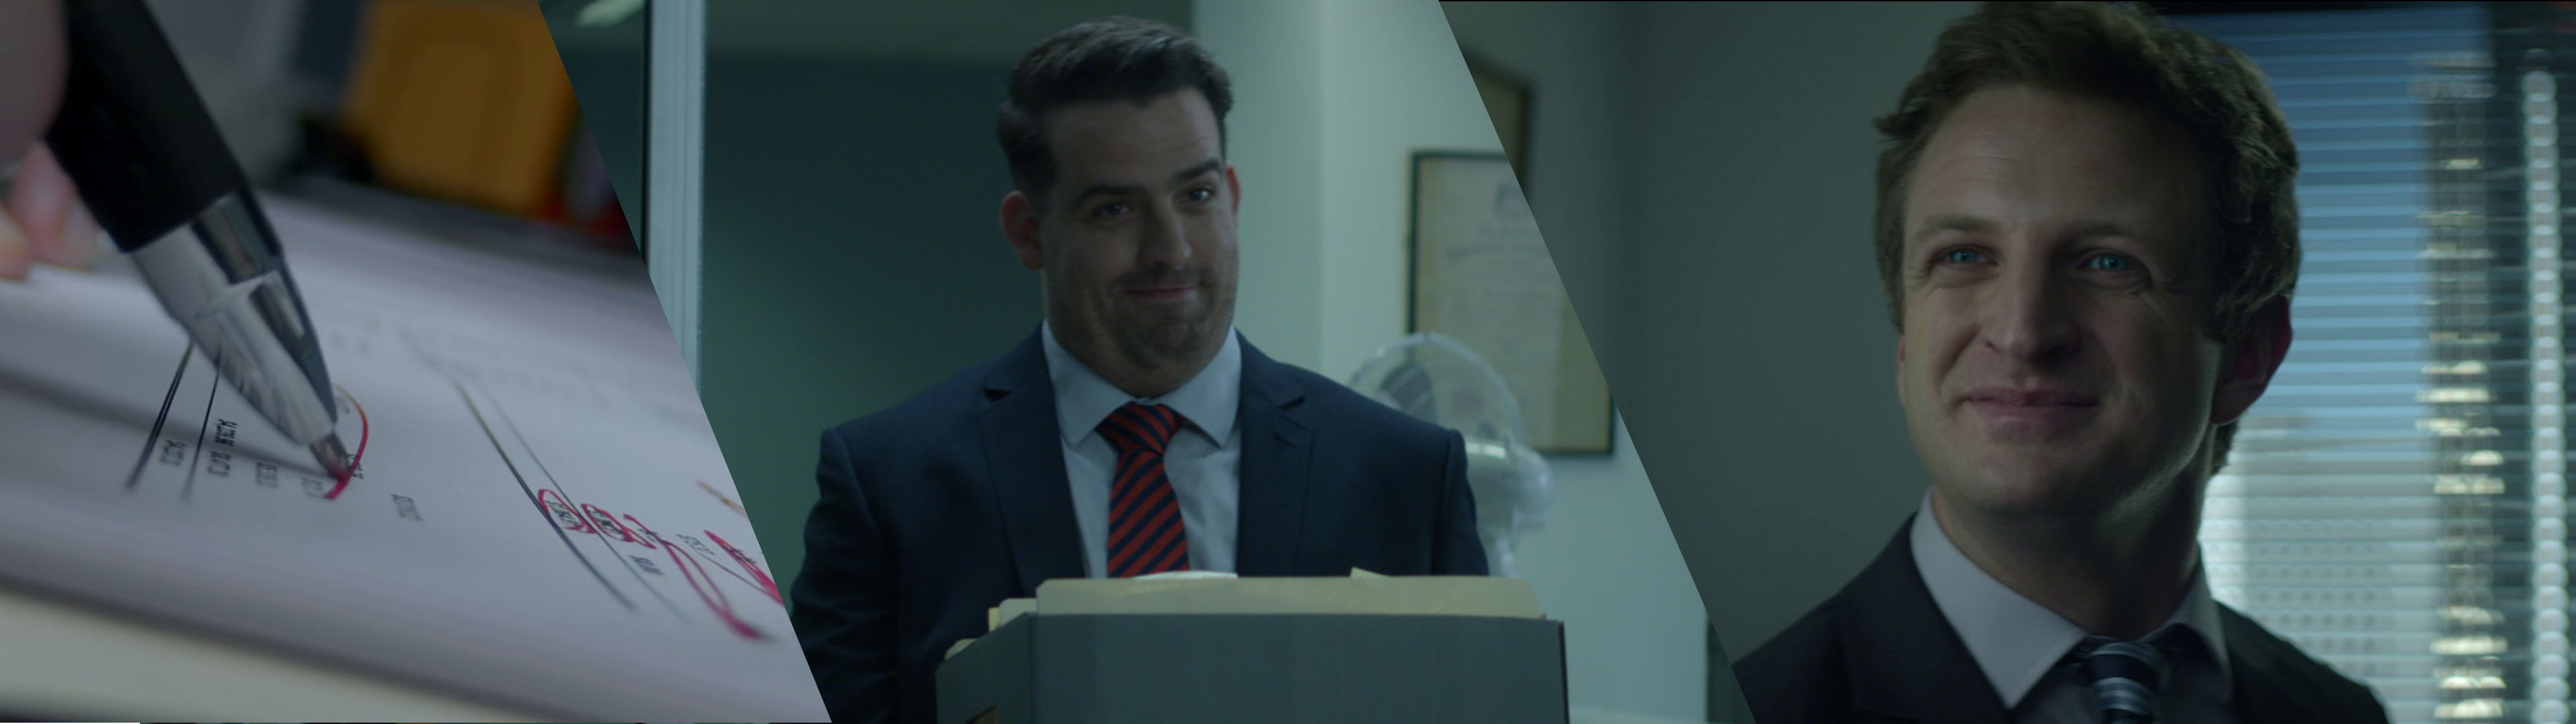
Let’s start by familiarizing ourselves with the footage that we’re going to be editing. It’s a short film by Craig D. Foster called “Overtime.” The movie opens showing Ralph at work in his office. Ordinary paperwork is made to appear menacing, then there’s some dialogue at the end.
Ralph is anxious to get home, but is delayed when his boss, Simon, arrives with more work. Cue the movie’s main title card. Using stock libraries, we’ve added score, sound effects, and sound design to our initial pass.
Have a listen to the first pass below, or watch here:
It’s a good start, but there’s definitely some issues.
- Some elements of the score don’t match the edit. The beginning sounds good, but the cue quickly changes into a lighter hearted melody, more reminiscent of something like a crime drama.
- We forgot to add ambience. During the quiet moments, the soundscape is noticeably dead and doesn’t contain the hums and hisses present in everyday life.
- There’s not enough variety in the sound effects. We’ve used the same keyboard sound for every letter typed and the same pen sound for every pen stroke.
- Once you start adding sound design to the edit, sections that are missing it become more obvious. We could definitely cover more of the edit with creative sound design.
- Treatment and effects on the audio. A lot of our assets have been recorded in a studio environment. They don’t have the reverberation that would be present in a small, boxy room.
- There’s definitely some room for more creativity. We’re missing an opportunity to use sound to contribute to our story in non-literal ways.
Let’s get to work.
Improving the Score
We’ll start with the score. It’s not terrible, but it could be better. The problem is, unless a cue has been scored specifically for your edit, it won’t line up. For example, this staple being pulled is a great moment. The cut builds towards it in our first edit, but as you can tell, it kind of falls flat without the support of the score. So instead of playing the cue straight, we’re gonna cut it up to match our edit.
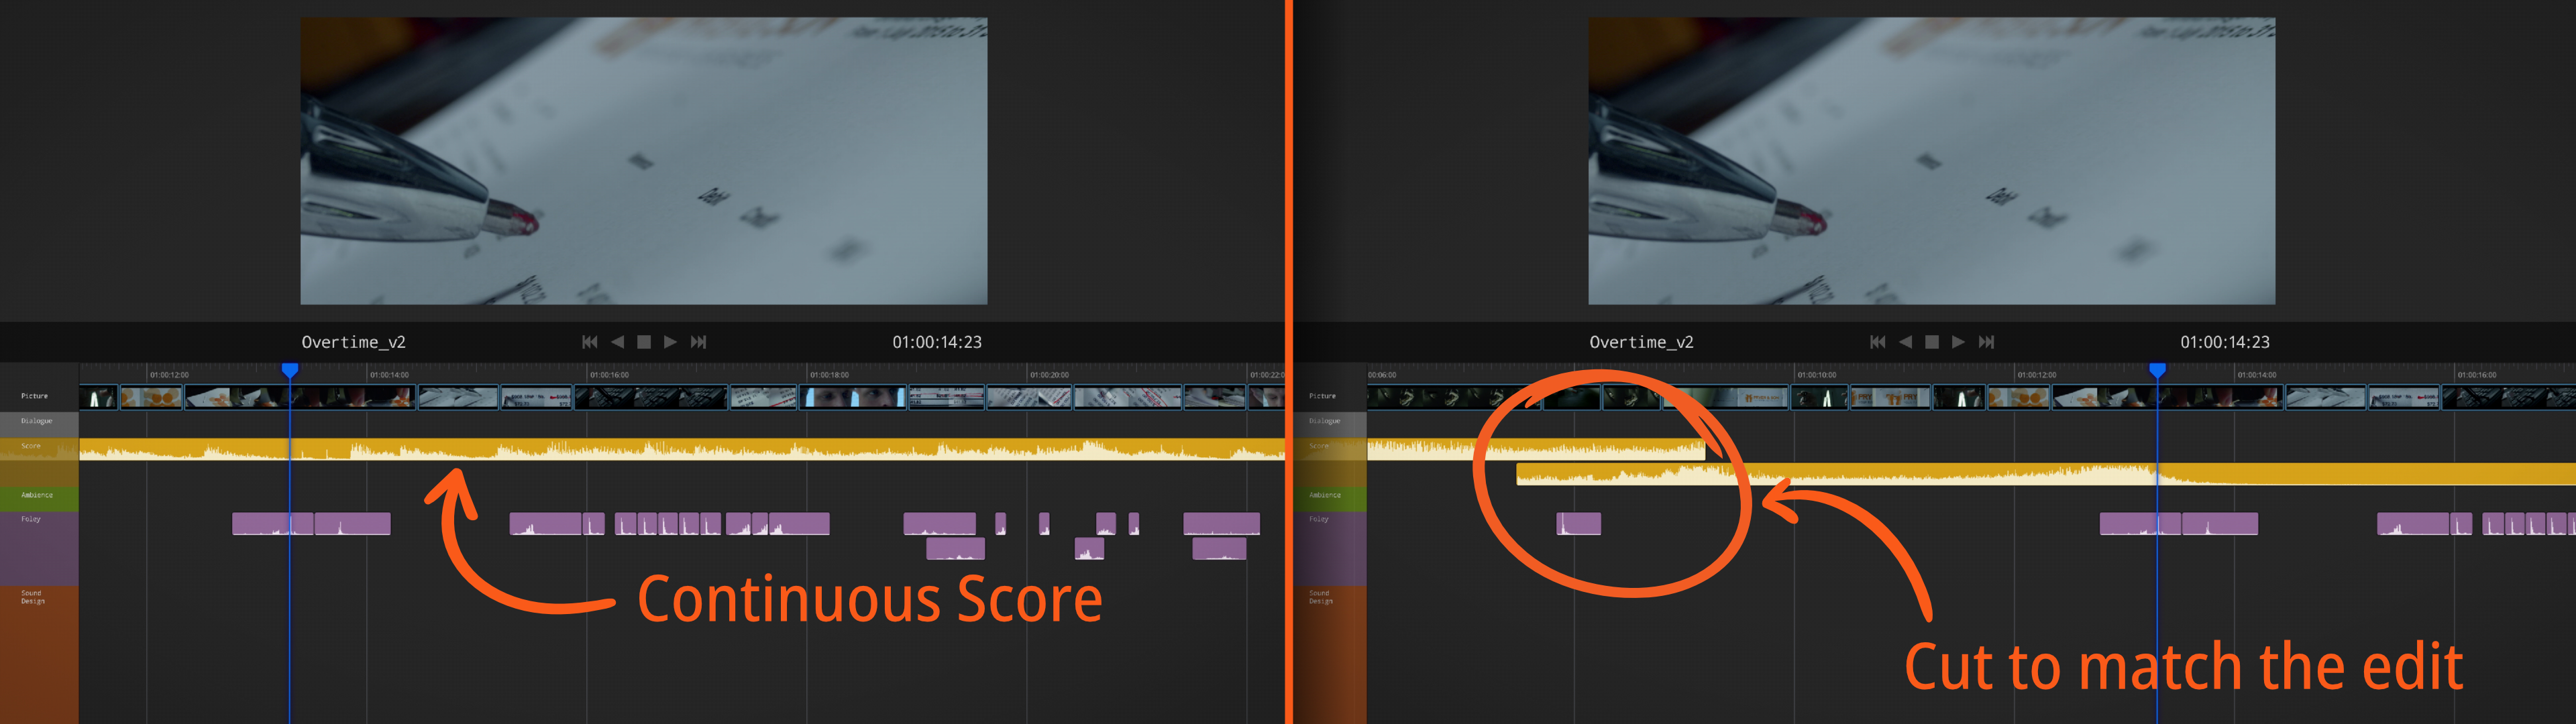
We’ll use the beginning of the cue, cutting before the tone changes for that opening scare and then a small section from the end for the staple being pulled. We’ll line that final hit up with the moment that the staple gets pulled. The transition is pretty much invisible, because we’ve chosen two sections of the cue that are similar.
Orchestral music without rhythm is really easy to edit, because there are no beats to line up. For the rest, we’ve found another cue from a different artist. It’s simpler than the opening cue, more of an ominous drone than any sort of melody. We’ll apply the same principles though, cutting the cue so that hits and dips, along with loud and quiet moments, all fall in the right place.
As this is a little complicated for just a listen, you’ll want to click here for the video version to see how it sounds now.
Ambience
Now let’s work on the ambience. We’ll mute the score and the sound effects, so that we can hear what’s going on.
Unless your film is set in space, where nobody can hear you scream, every location in a movie should have ambient sound. Ralph is working late in a private office, and there’s not many people around.
So what does an empty office actually sound like?
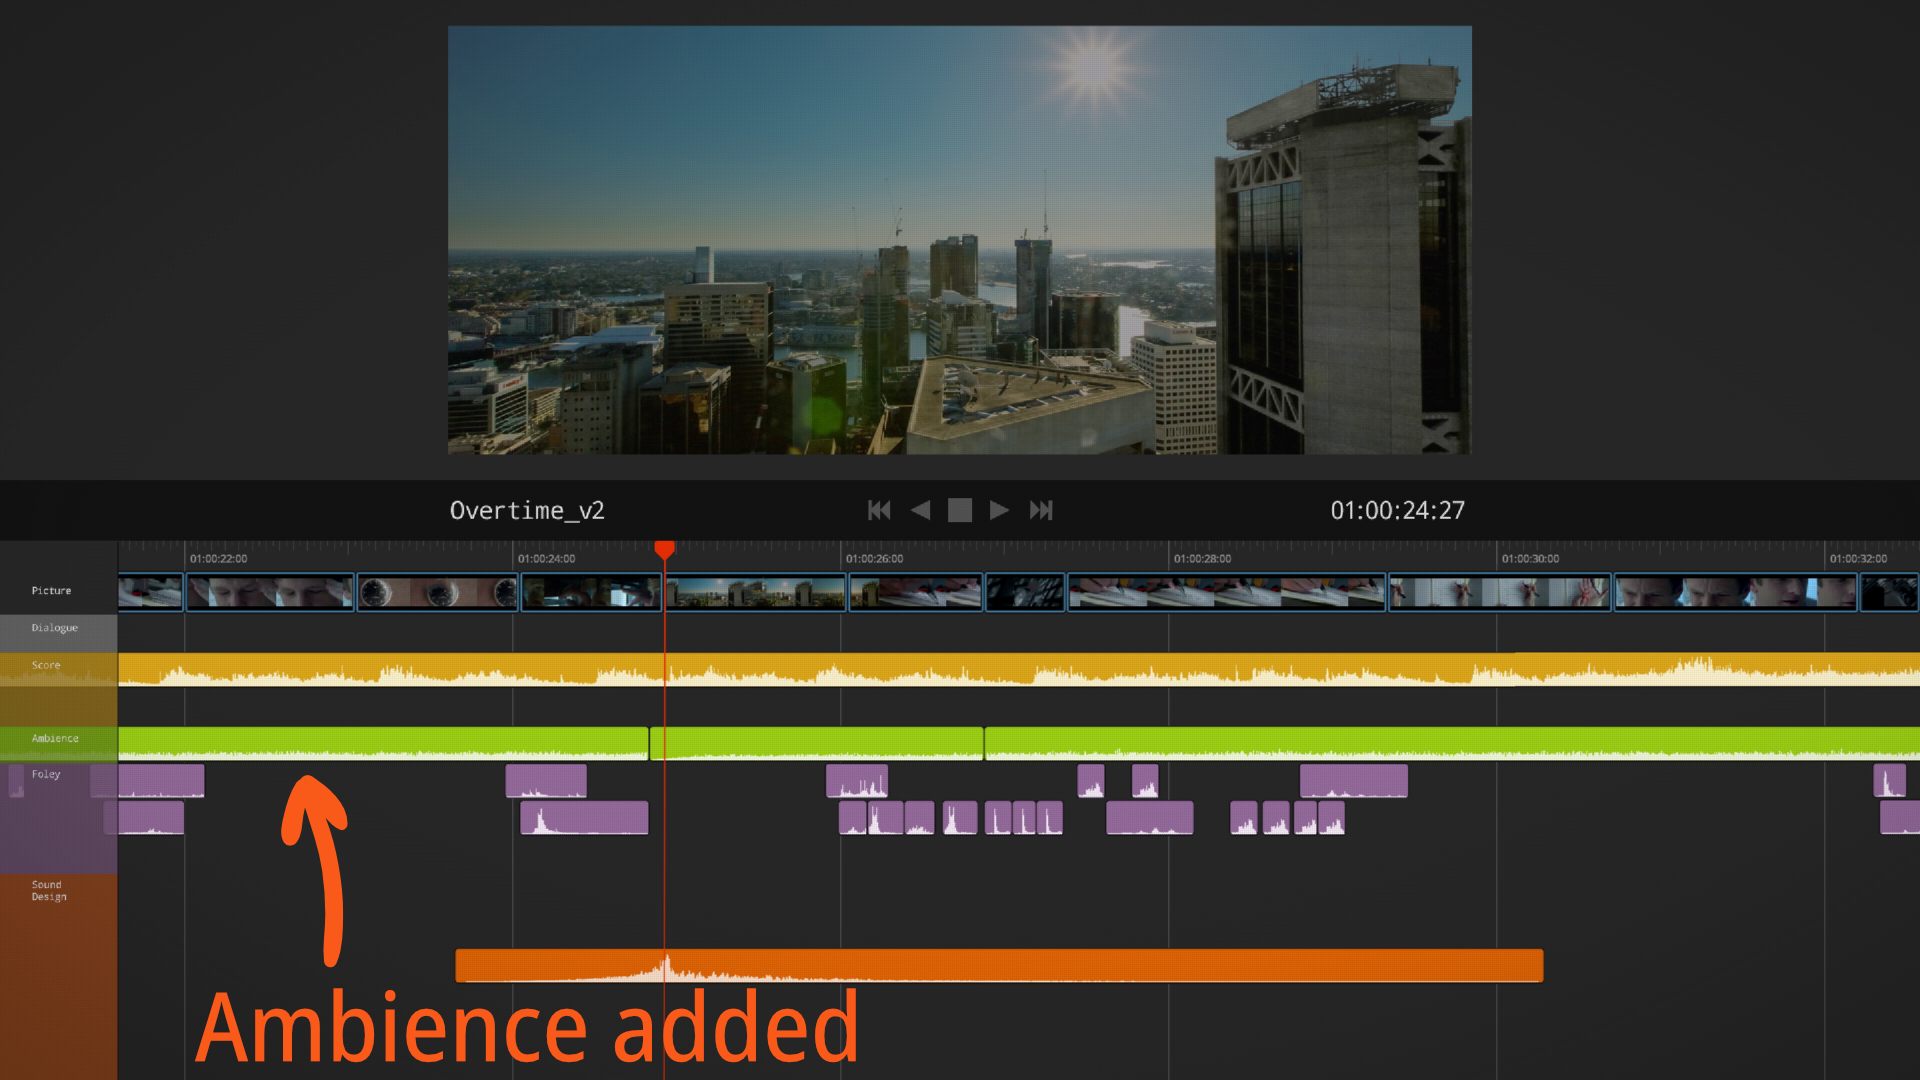
We’ll use something simple. The hum of an air conditioner is going to work fine. We’ll add some wind for the only outside shot, the POV of the sun setting. And then, don’t forget to lower the volume of any ambience to a suitable level.
Sound Effects
Next, let’s address those repetitive sound effects. Currently, we’re using stock assets for the effects, such as keystrokes and pen strokes. The problem is that I use the same sound effect every single time. Instead of a single keystroke, here’s a clip of typing that lasts 10 seconds.
It has multiple keystrokes in it and each one sounds slightly different, but we can’t use them as they are. If we add the clip directly to the timeline, it’s not going to match the onscreen action. We’ll place some cuts to separate individual keystrokes and then use each sound once and line them up.
Editing with waveforms visible is vital. When lining up the apex of a sound effect to your edit, you can add markers to make it easier.

It’s very important to be thorough with your sound design. Once you start adding sounds, sections that are missing sound effects become very, very obvious. We’ll add some sounds for the blinds, the watch, and the knocks on the door.
The staple remover is going to be a little bit harder. It’s not the kind of thing that you’d find on stock libraries, so maybe we can find something that sounds similar. It’s a metal on metal sound, like scissors. Here’s an example of one stock clip I found that could work:
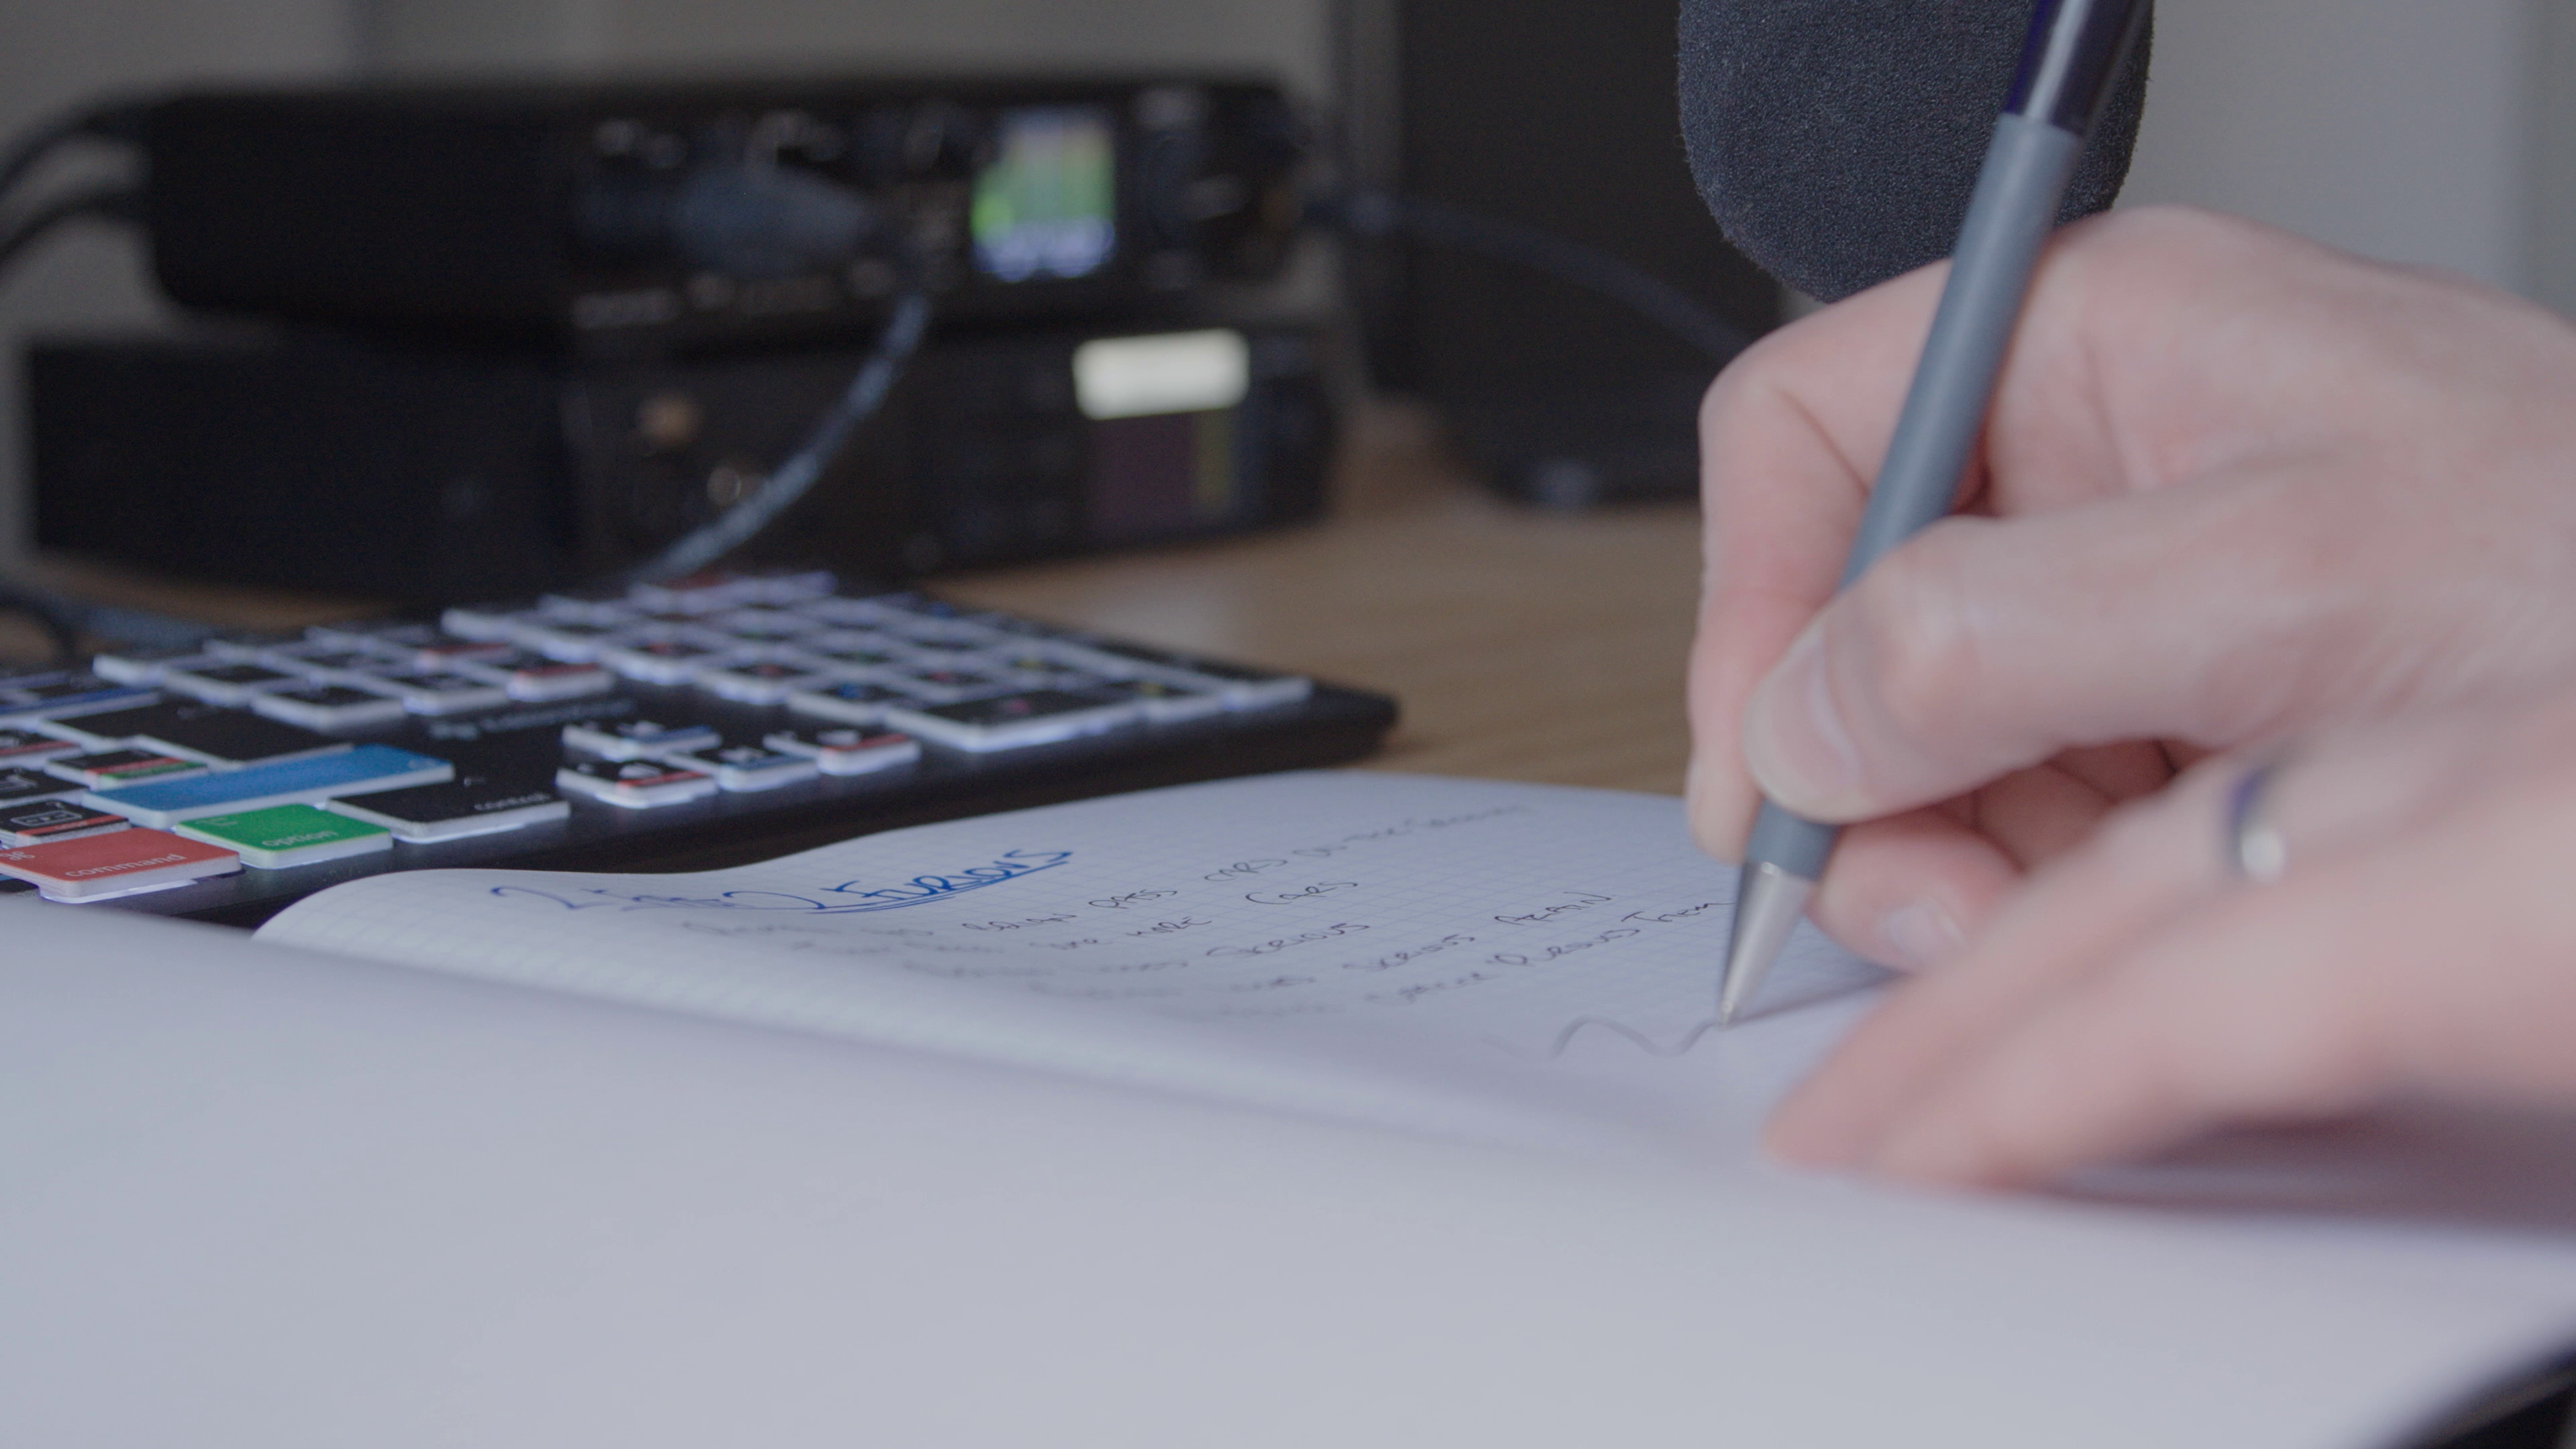
Stock libraries are great, but with more particular visuals, it can often be difficult to find the right sound. In those instances, you can record foley at your desk straight into your timeline.
The exact procedure will vary between NLEs, but once you’re set up, you’ll be able to record audio while you watch your edit. Your performance doesn’t need to be perfect. We can always chop it up afterwards and match it more carefully to the edit.
SFX in Environmental Context
Excellent, the mix is sounding pretty good, but there’s something important missing – reverberation.
All of our foley has been recorded in a studio environment with acoustic baffling. Ralph’s office, on the other hand, should have some reverb. Here’s what our section of foley sounded like, before a bit of environmental reverb.
And here’s what it sounded like after.
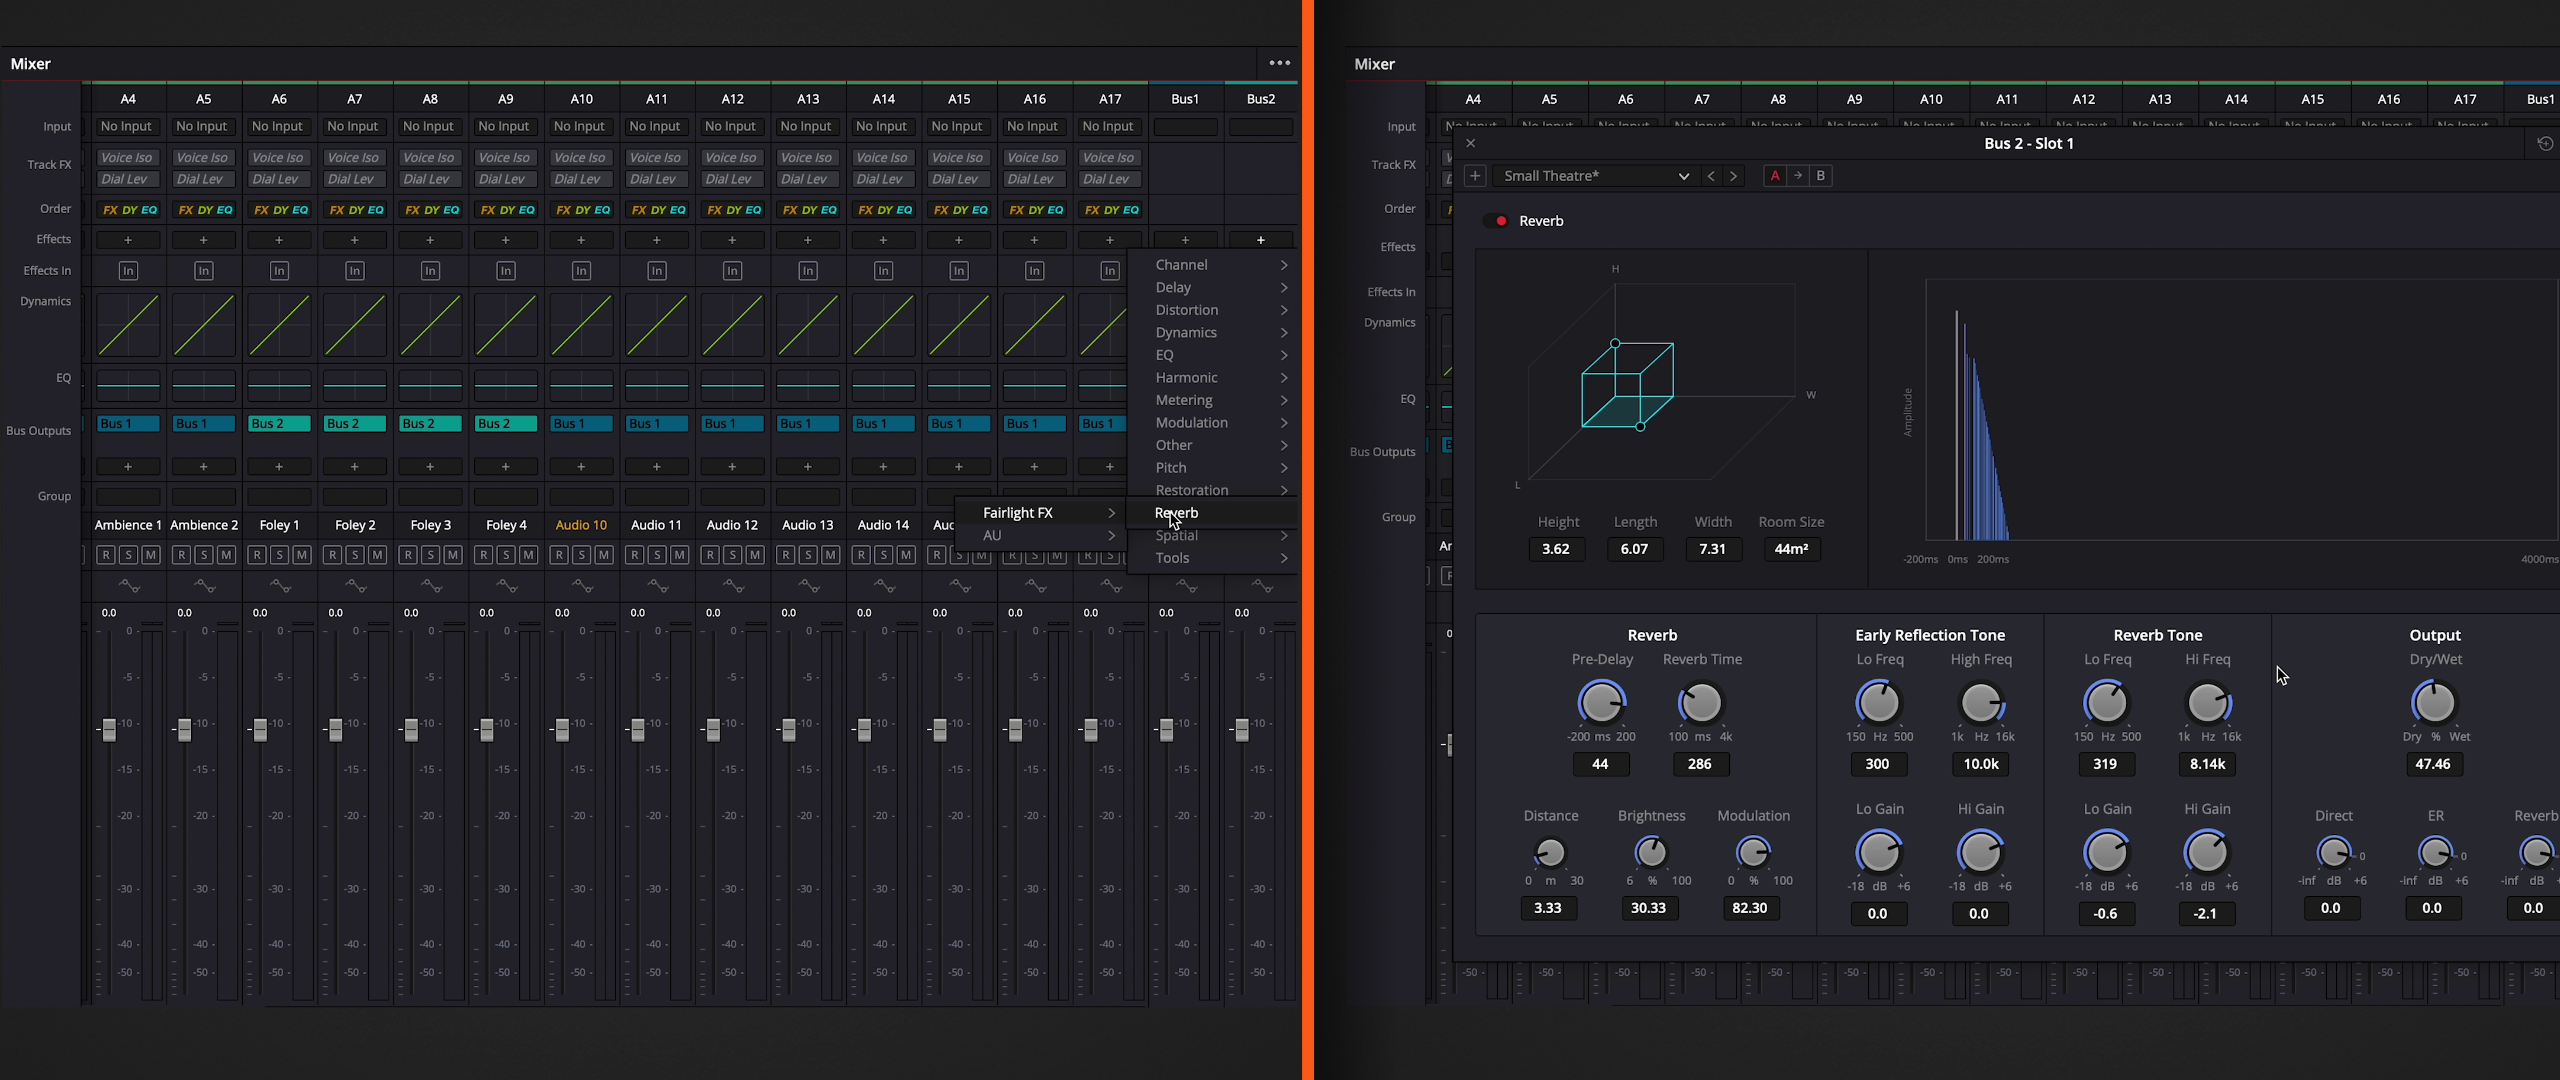
Much more natural sounding and fitting of the character’s environment. Instead of adding reverb to each individual clip, we’ll route all our foley tracks through a sub-mix, sometimes call a bus. By adding a reverb effect to that sub mix, we can apply it to all of our foley in one go.
Sound Creativity
The next problem that we’ll tackle is the lack of creativity in general.
Sound is most powerful when we use it to communicate things that the audience cannot see. We’re not talking about action that’s off screen. What we’re actually talking about are things like, emotions and feelings. This is probably the single biggest way that our edit can improve. So it’s time to get creative and use sound design to communicate the abstract instead of the obvious.
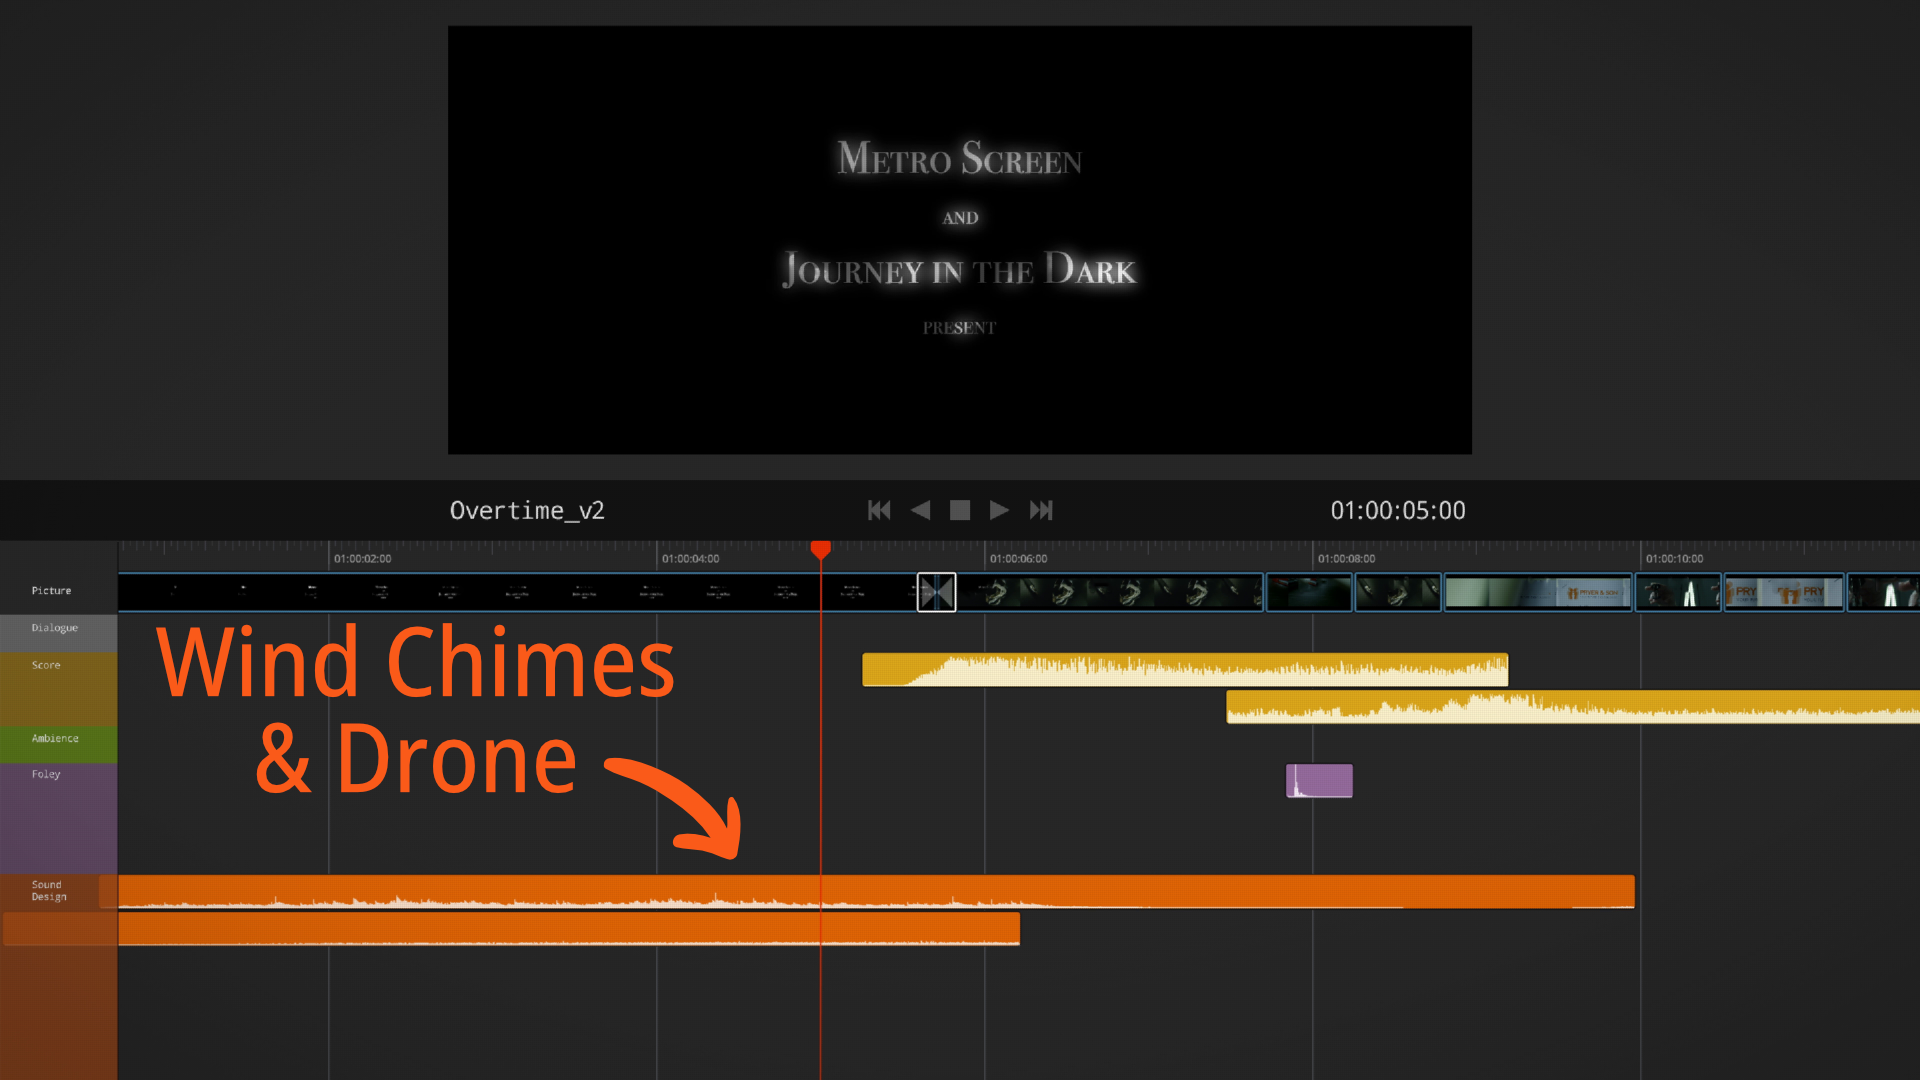
The opening credits don’t feel right playing out in complete silence. We’ll add some chimes to match the text reveal and a drone as a precursor to the first musical cue. The wondrous sound of the chimes mixed with the uncertainty of the drone, sets the perfect tone here. We then added a reverse impact to the de-stapling moment to make it a little bit more sinister.
This middle section feels pretty good, with all the key strikes, the pen strokes, and the like. So we’re going to skip to a section at the end, where Ralph attempts to leave the office.
Currently, it feels a bit empty at the moment – ripe for creative sound design work. We don’t want the tone to be too dark here, because this is also a comedy.
Whooshes can add levity to moments and help reinforce the comedic nature of the movie. Think, “Hot Fuzz“. So we’ll add whooshes to all of Ralph’s quick movements in this section and to this camera move at the end.

Next, hits make things more dramatic. For example, placing a box of files on a desk, in itself, not particularly dramatic, but adding a reverberating hit here, tells our audience that this box has more severe consequences than we might realize.
An Iterative Process
So there’s lots of other moments that we can sound design too. Remember, sound design is an iterative process – you’re not going to get it all right in just one pass. For example, we can emphasize parts of the score with additional sound effects. I’ll start by adding an impact to the first musical stab. Next, let’s add some horrifying bone crunching to the staple remover.

Layering sounds is a great way of making your soundscape richer. Stationary definitely doesn’t sound like bone crunching and squelching, but because these sound effects are similar in tone and frequency to the natural sounds of the staple remover and the shredder, we can actually integrate them pretty naturally into the mix. These definitely make the scene more intriguing, a little uneasy, and they heighten the audience’s curiosity. And of course, they also foreshadow things that are going to come later in the film.
This is a very stylized edit, so the whooshes, the hits, and the other sound effects fit right in. With other styles of editing, they might be pretty out of place.
Now, important point here:
Once you’ve committed to a style, it’s important to be consistent throughout the piece.
Sometimes moments worthy of sound accenting are obvious, like our paper box drop, and also like these quick character movements, but others can be more subtle, and we need to learn how to recognize them and then how to treat them.

As a general rule, both visual movement and lighting changes should clue you into the fact that you might have that type of moment on your hands.
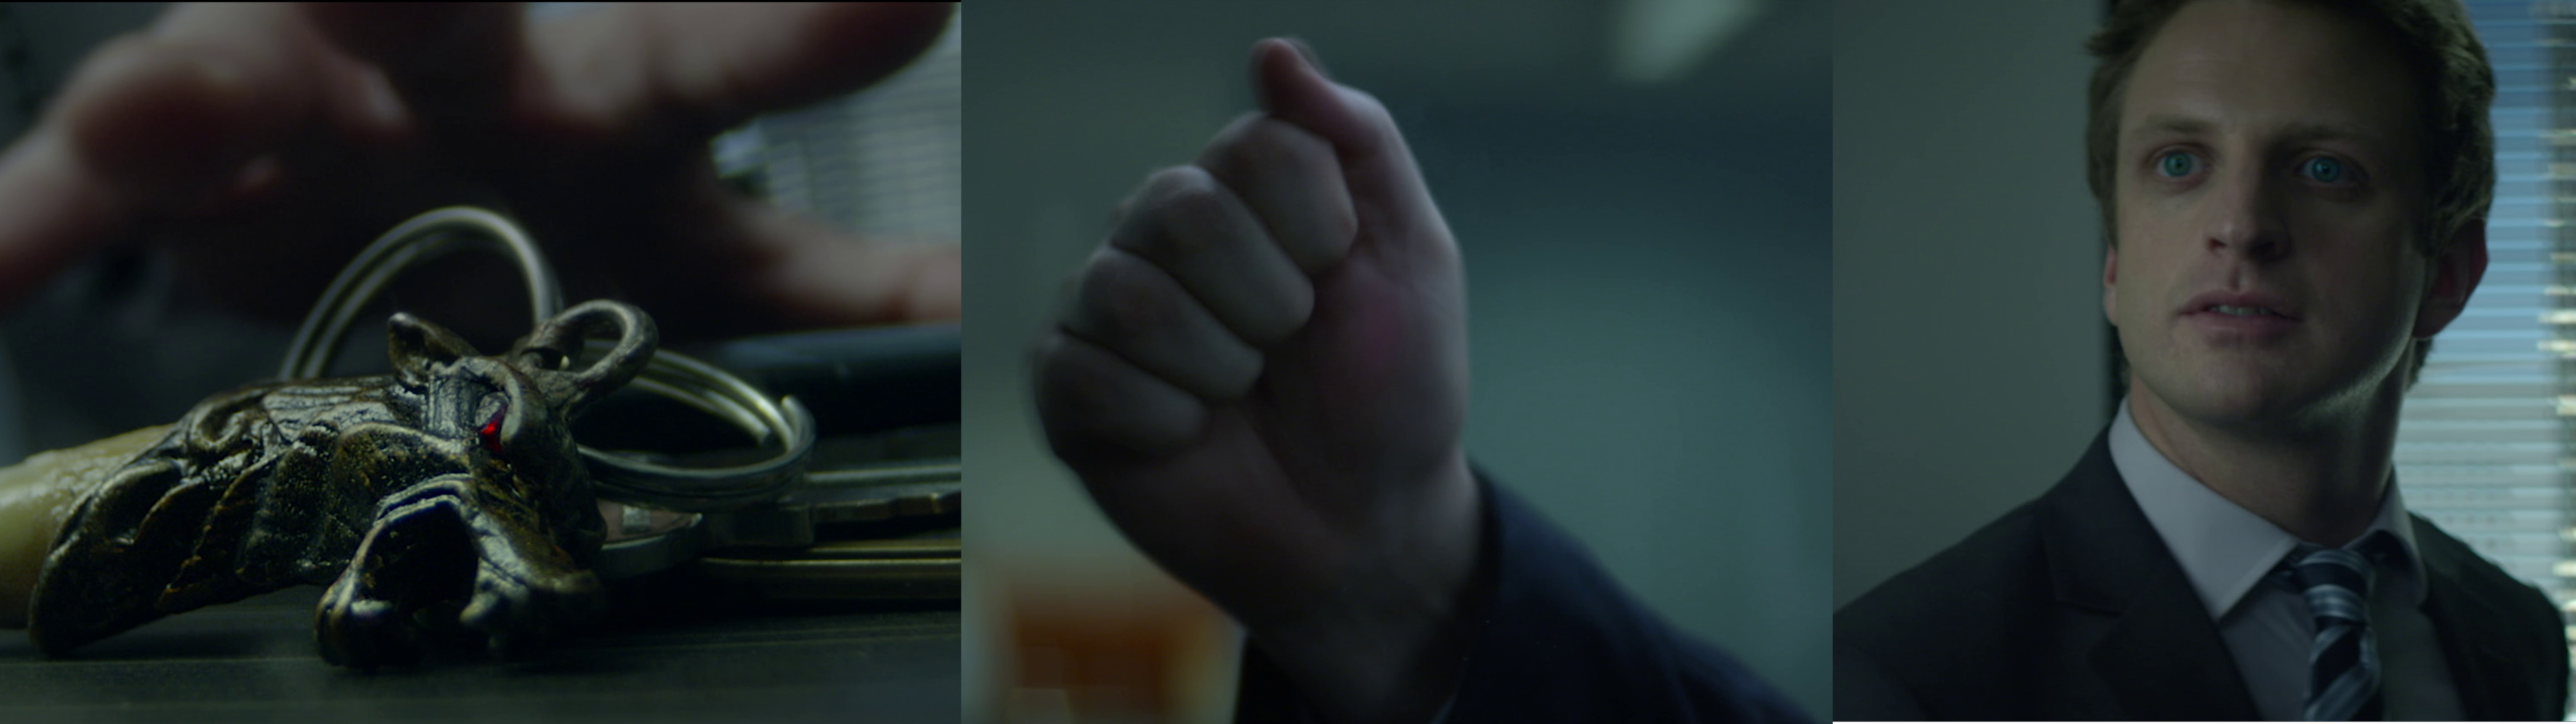
For example, look at this sundown. If we added a reverse cymbal leading up to the cut, and layer it with a bass drop that starts right on the cut, you’ve now effectively accented a moment that might have otherwise been a missed opportunity. The end result, is that you’ve got a more consistently styled piece, which a more novice editor might not have been able to achieve.
Design Overload
Now there’s one last important point about sound design that we want to share with you…
Not every moment needs to be accented and not every accented moment needs to be maximum intensity. You need to be balanced.
Let’s look at an example of what we mean by this. If we overload this moment too far, we create problems. Have a listen.
Those two pieces of sound design (the bass drop and the hit) are far too intense for a soft moment like this, that isn’t confined to one single frame and isn’t even the climax of the scene.
The movement when the hand is pulled back is meant to be in momentary pause in the tension, versus a major impactful event. Ralph is about to go home and this is the moment when he realizes that he can’t do that.
Identify key moments.
If you try to make every moment special, none of them will be special.
This moment still deserves sound design, just something subtler. Have a look with the hits turned off, leaving only the cymbal suck.
Much better and more appropriate.
Creating a Climax
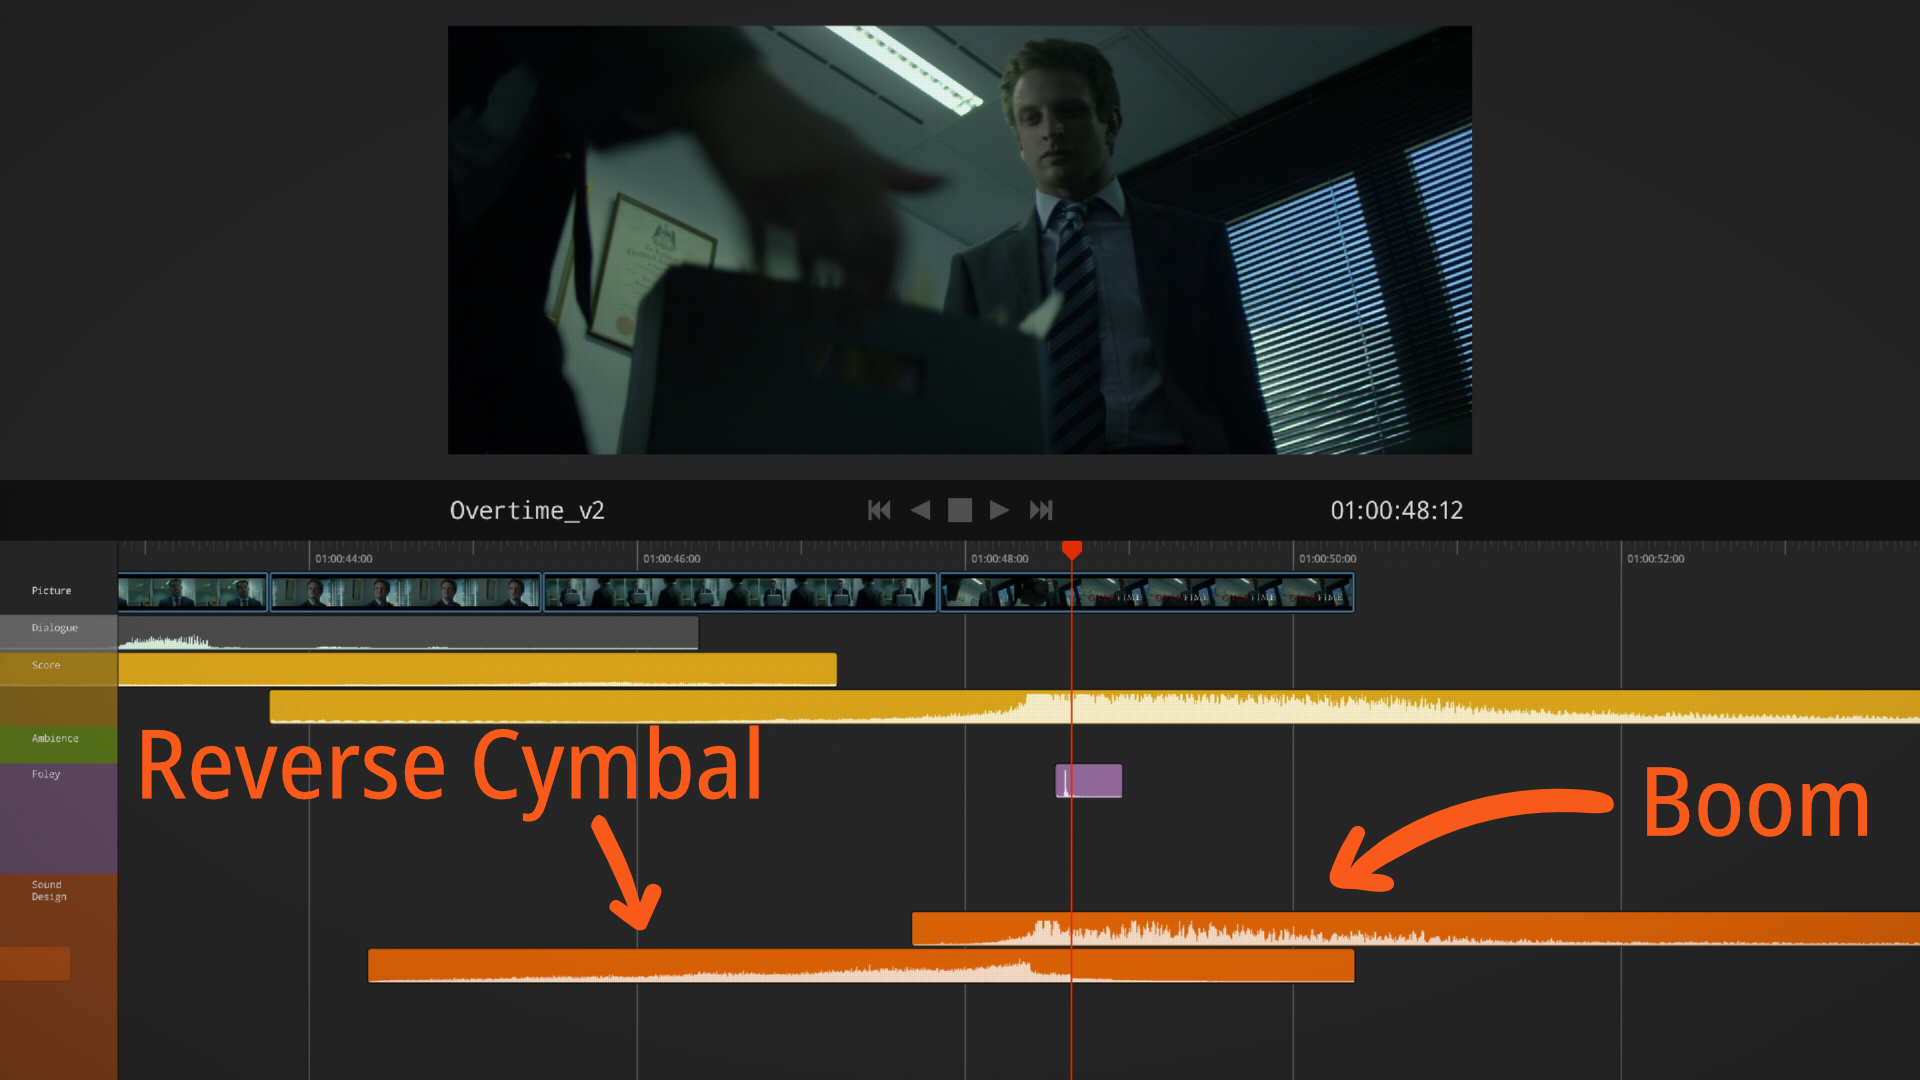
Now let’s look at the actual climax. We’ve already lined the score up. We’ll add a reverse cymbal, also known as a suck back, and a boom. Combined with the score, this now signals the resolution of the scene and the setup of the next.
Okay, so the pieces are there, but the levels are all over the place. It’s time to mix the audio. We need to make sure that the score, dialogue, and sound effects all play at the correct levels in relation to each other. When using your audio meters, here’s a rough guide.
Make sure that nothing peaks. Aim for dialogue around negative 12 db. It tends to be one of the loudest things in our mix. This obviously is because we want people to be able to understand the dialogue and follow the story.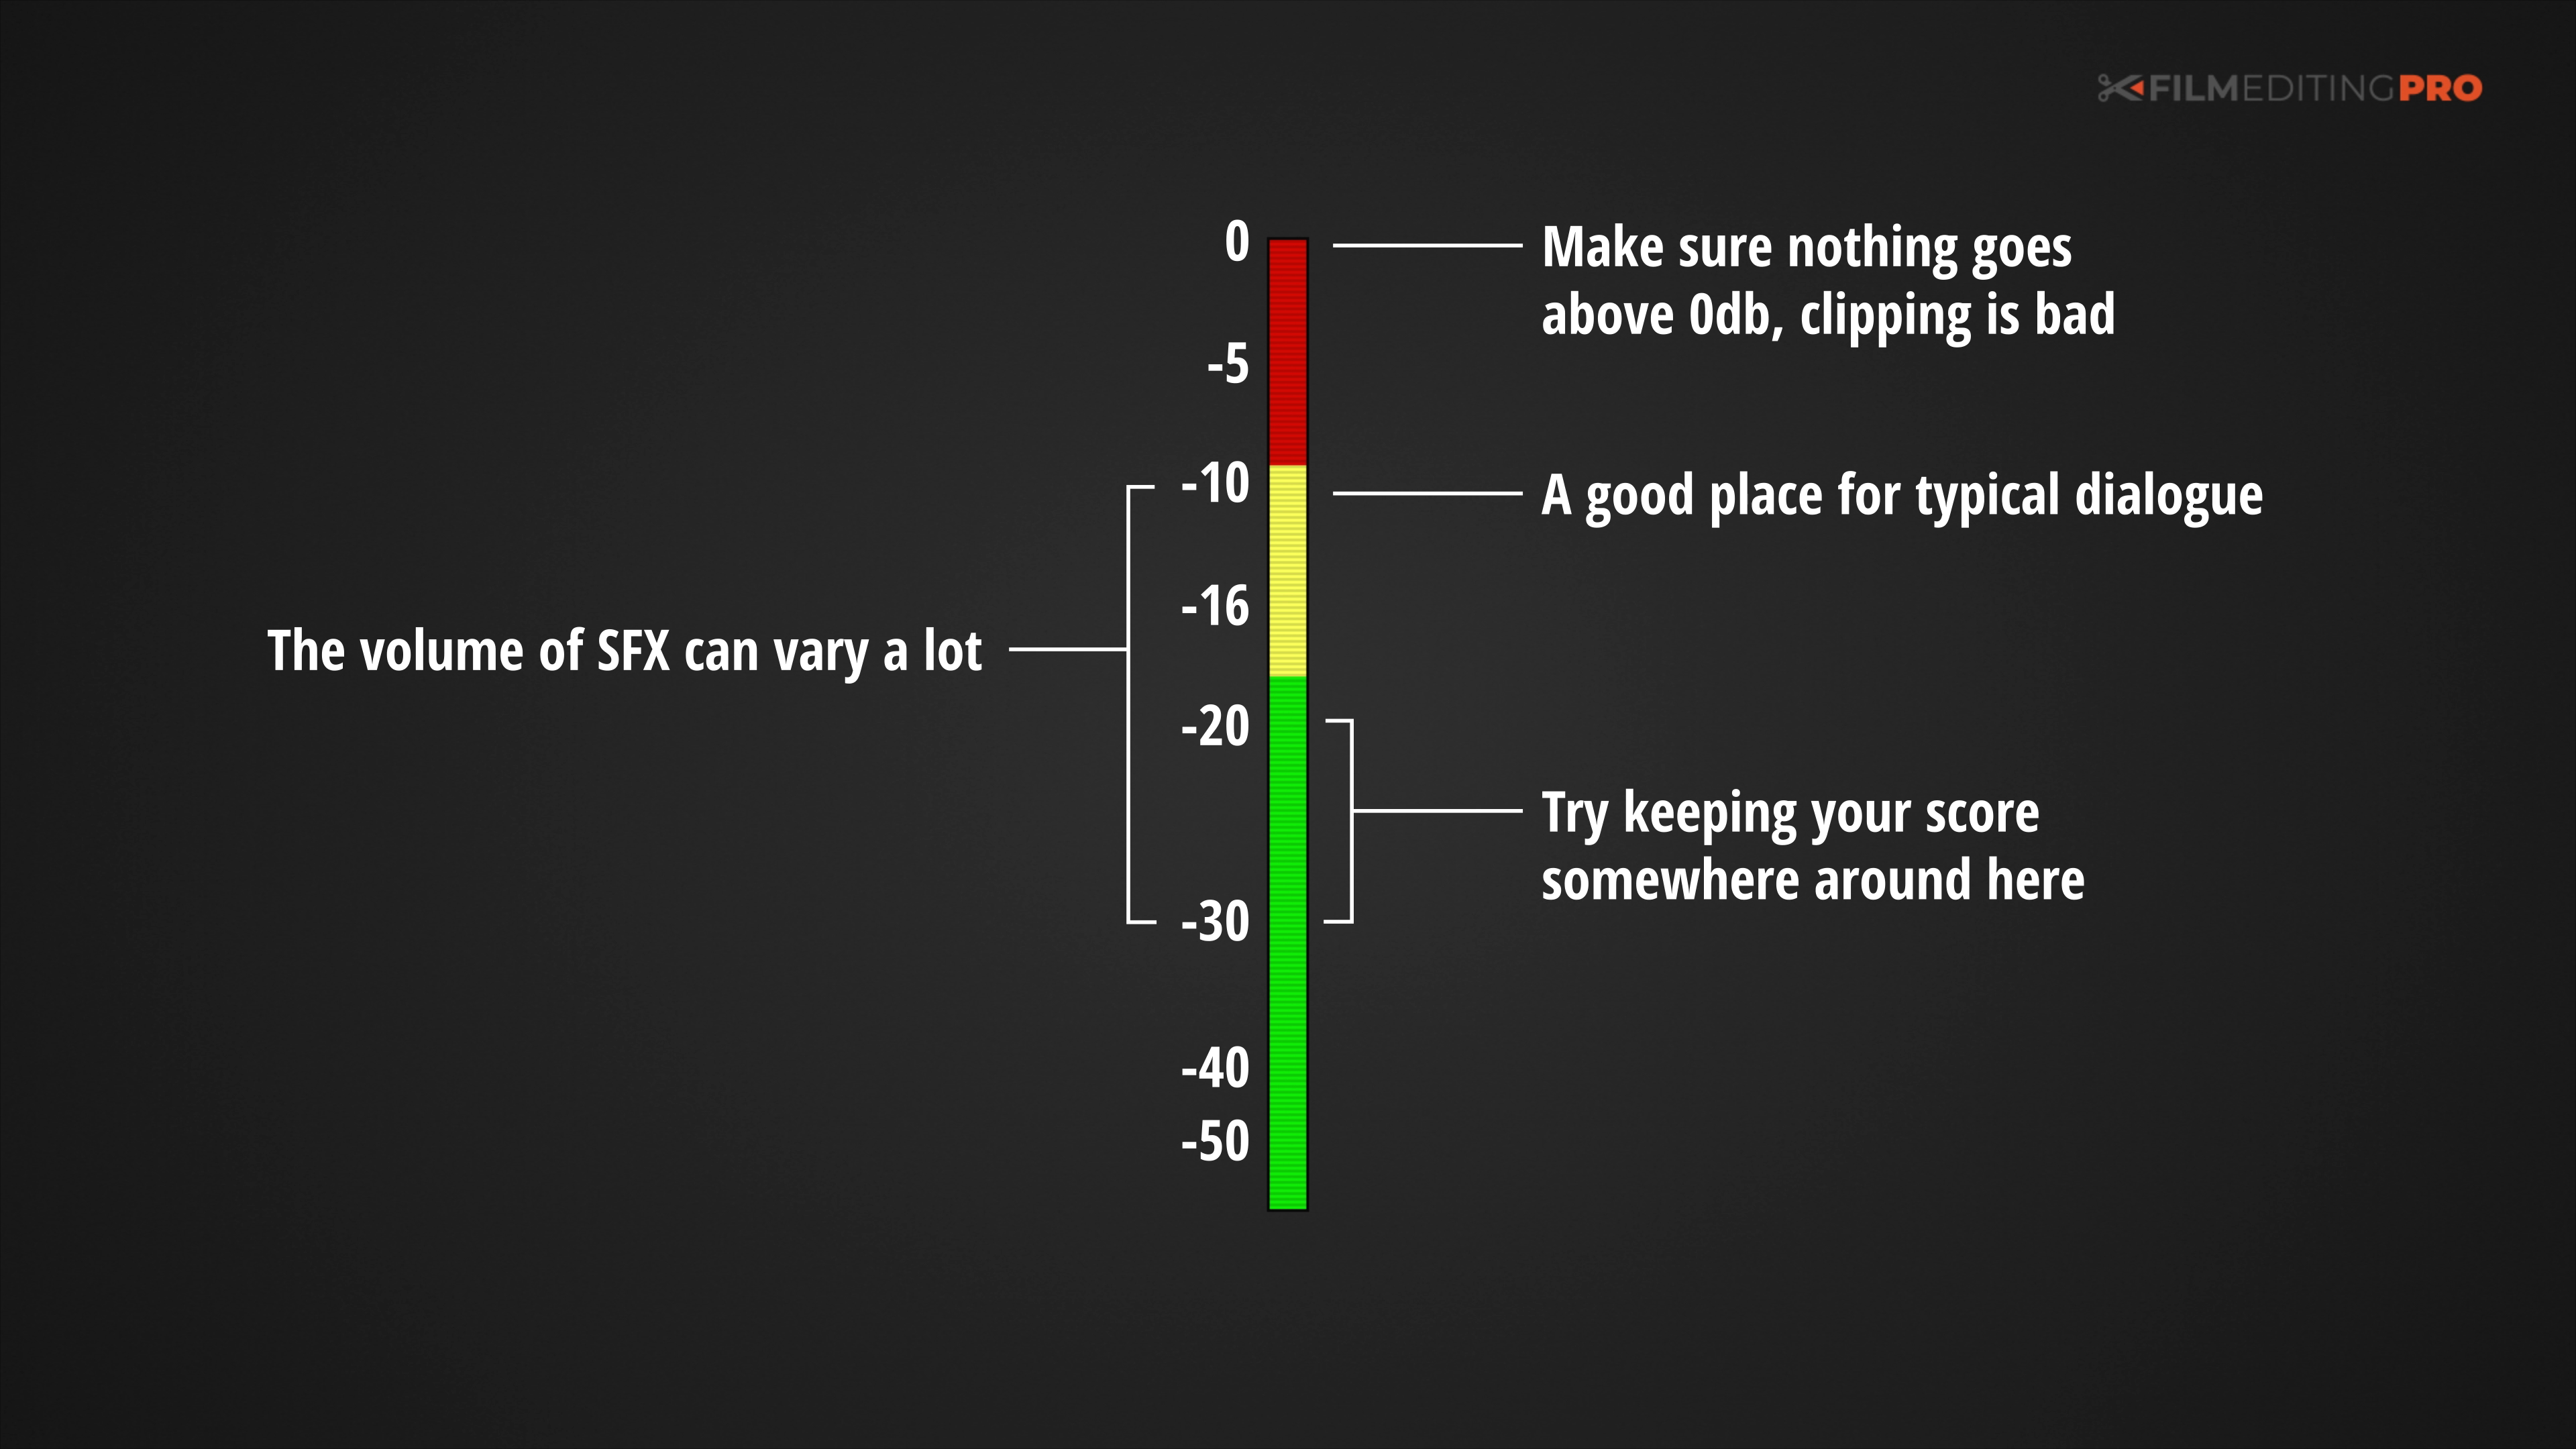
Depending on what they are, sound effects will be anywhere from negative 10 db to negative 30 db, and then the score or the music itself, tends to sit around negative 20 to negative 30 db.
Now let’s see how it all sounds. Have a listen below.
Wrap Up
Sound design is an iterative process – like building a brick wall, good sound design is made up of many small touches, that when you step back, make something truly awesome. Start with the foundations – score, ambience, foley, and then keep on building with more and more creativity. Well-built layers add sophistication and interest to the entire audio bed.
Follow a consistent workflow, but creatively try to think outside the box. And of course remember, these techniques are applicable no matter what software that you work in.
For tons more editing training, head over to our Free Training page to get started with some sample lessons on any topic that you like, from general creative editing, to working with music, cutting action scenes, trailers, promos, and a bunch more.
Leave Your Thoughts & Comments Below:
Related Posts


