Welcome to another Film Editing Pro tutorial! In this post, our trainer, Leon, is going…

How to Edit Faster Using Effects Templates
This quick edit tip will make you a more efficient editor. Make it a habit to save commonly used effects and plugin settings. These could be time warps, picture zooms, transitions, audio effects…really anything that comes up regularly in the type of editing you usually do.
By automating repetitive, tedious non-creative tasks, you’ll leave more time for the creative part of editing. You’ll also find some projects require a particular look or repeating style, so creating templates is a must.
Watch the video (or read the transcript below) for more!
The exact procedures to create these templates will differ between software programs, but the principles are the same. With that caveat out of the way, let’s dig deeper into effect templates.
1. Creation
Usually, you’ll want to switch to your editing program’s effects workspace, since it will show you the most useful interface panels.
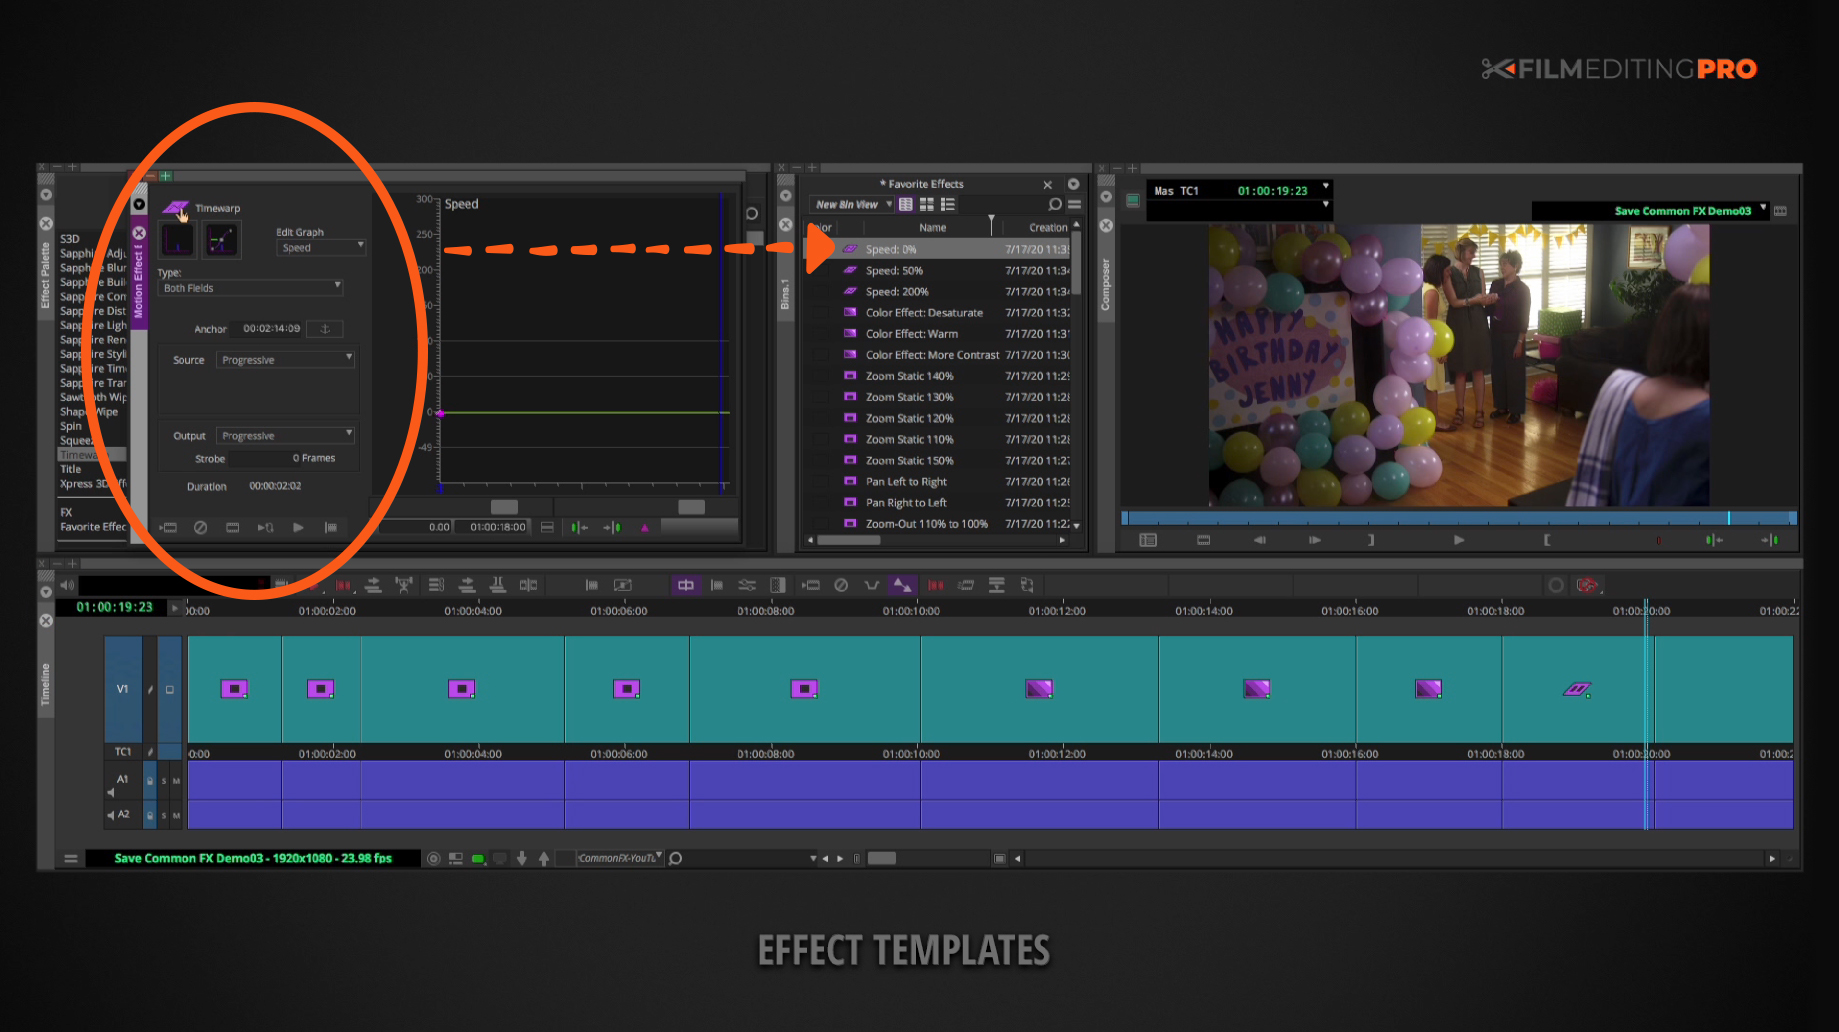
- You’ll want to add an effect to a clip
- Change its parameters to the desired animation or look
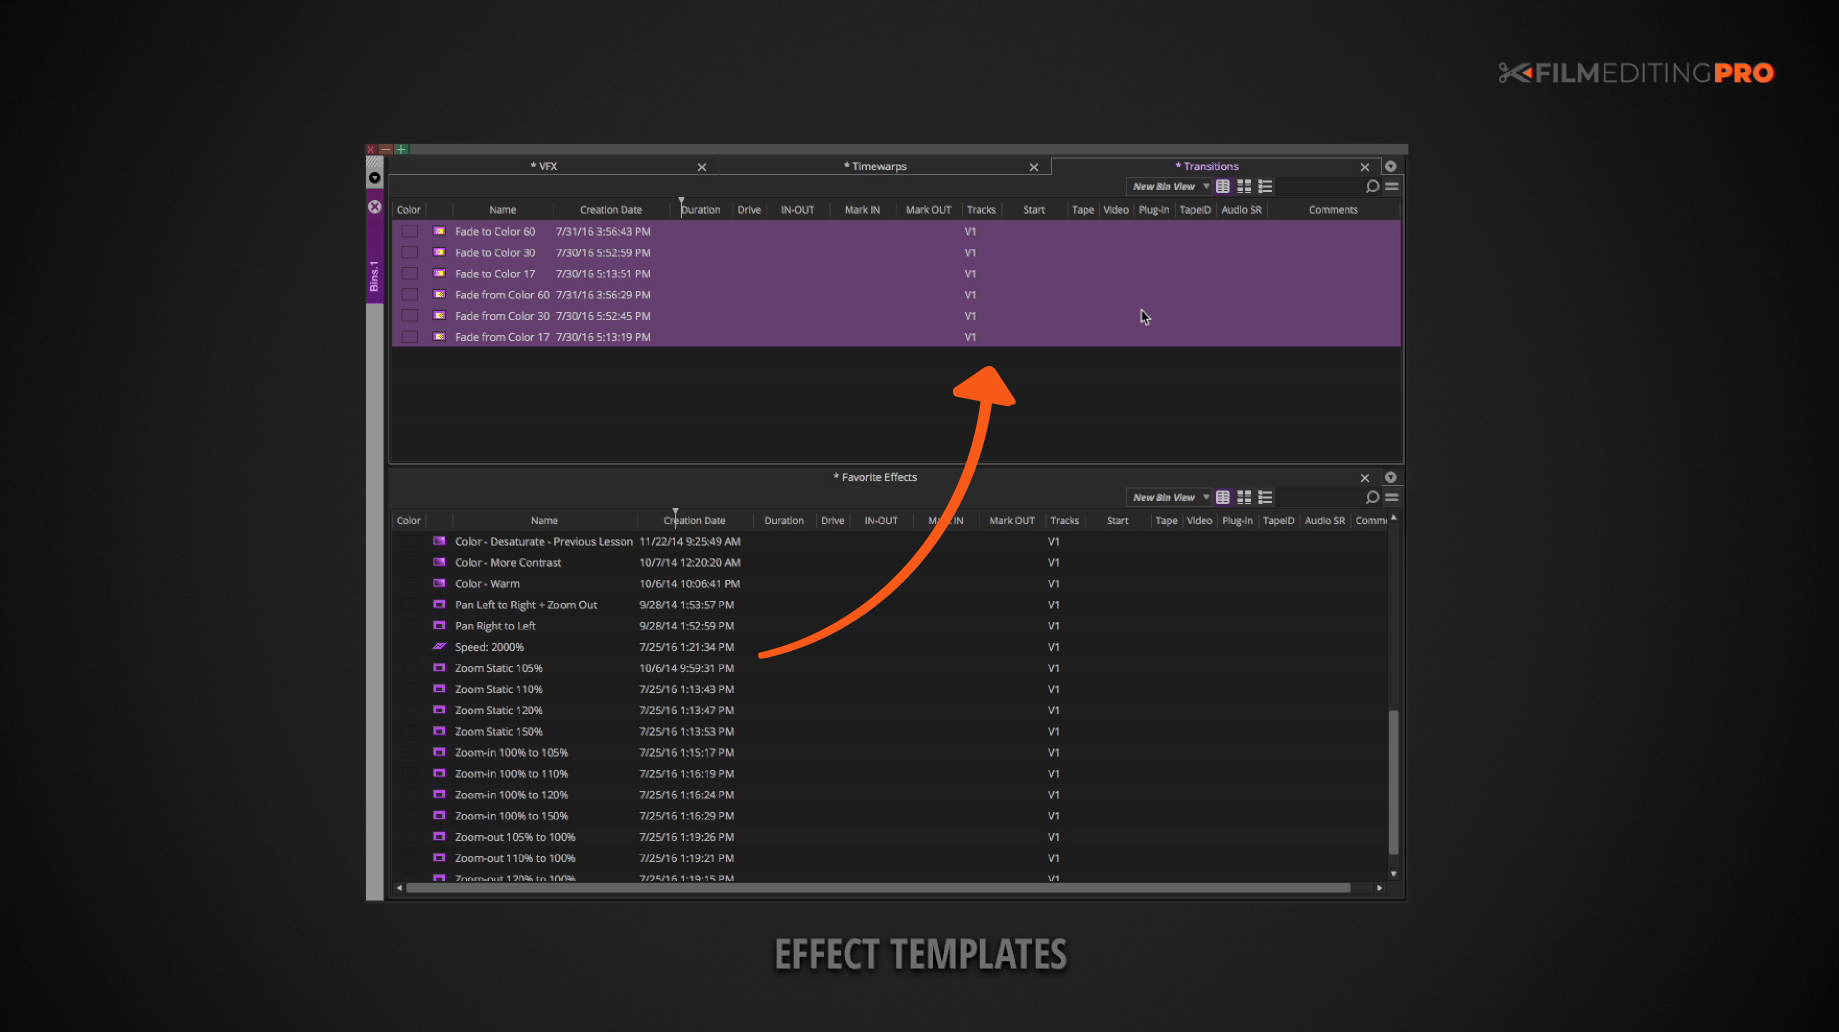
- Drag the effect icon to a bin
- And name it for easy recognition and the ability to search for it later
You can create a whole series of effects that span a range of parameters and looks, with different amounts of zooming in, speeding up, panning around and so on.
Perhaps you want your zoom to be a bit less pronounced, more like a drift in. You’d want to make a preset that only zooms in from 100% to 105%. As well as one that zooms from 100% to 110%, and maybe also one that zooms from 100% to 120%. Zoom outs can be useful when you want to reveal a part of the frame, so you should make a range of them as well. Sometimes you’ll just want to punch in without any camera move to get a closer look at a character’s facial expression. Create a range, from 110% all the way up to 150% in say, 10% increments.
Pans within your NLE can provide you with a reasonable emulation of a camera move. So, make at least one that goes from right to left and one that goes from left to right.
You can also save specific looks for your footage, like high contrast, warm, or desaturated.
Speed-ups and slow downs are also very useful presets to create, along with a speed of 0% – if your editing software doesn’t already have a quick way of freezing a clip. And occasionally, you’ll just want a quick way to reverse the action, so be sure to make a range of negative speed effects.
2. Application
Next, let’s see how to apply these pre-made, templated effects.
If you want to apply those effects to a new set of shots, using your NLE of choice, you can drag the saved effect from a bin and put it on the clip in the timeline.
Building these effects from scratch over and over again would be a huge waste of time. It’s much faster to have these templates at your fingertips for the sake of efficiency and accuracy.
3. Organization
At some point, you’ll want to organize your effect templates.
If you have a LOT of effect presets, you can organize them into multiple bins by category. You might make bins or folders called something like visual effects, time warps, transitions, etc. That way your effects will be sorted by category and you won’t need to sift through one massive bin to find what you need. That said, you might prefer having just a single bin of effect presets for the sake of simplicity.
4. Distribution
Finally, if you working with in any kind of collaborative environment, you might want to distribute your effect templates. Every NLE has a method to share templates by exporting them. Your collaborator at the other end can then import that template into his or her own system It’s a great way to ensure consistency across disparate editors and workstations.
Of course, it’s also fun to share cool moves and effects with other editors to bounce around ideas. Reverse engineering other editor’s templates is a great way to get your own creative juices flowing.
Often when working on a project, you’ll find that you need to use the same types of effects multiple times. Rather than recreate each type from scratch, create a bin or folder that contains the presets for each of these effects so you can just drag them onto your clips as needed. This will save you quite a bit of time while editing allowing you to focus on the creative instead of the technical.
—
If want to ask us a question or simply let us know that the tutorials are helpful, leave a comment below – we read them all!
Leave Your Thoughts & Comments Below:


